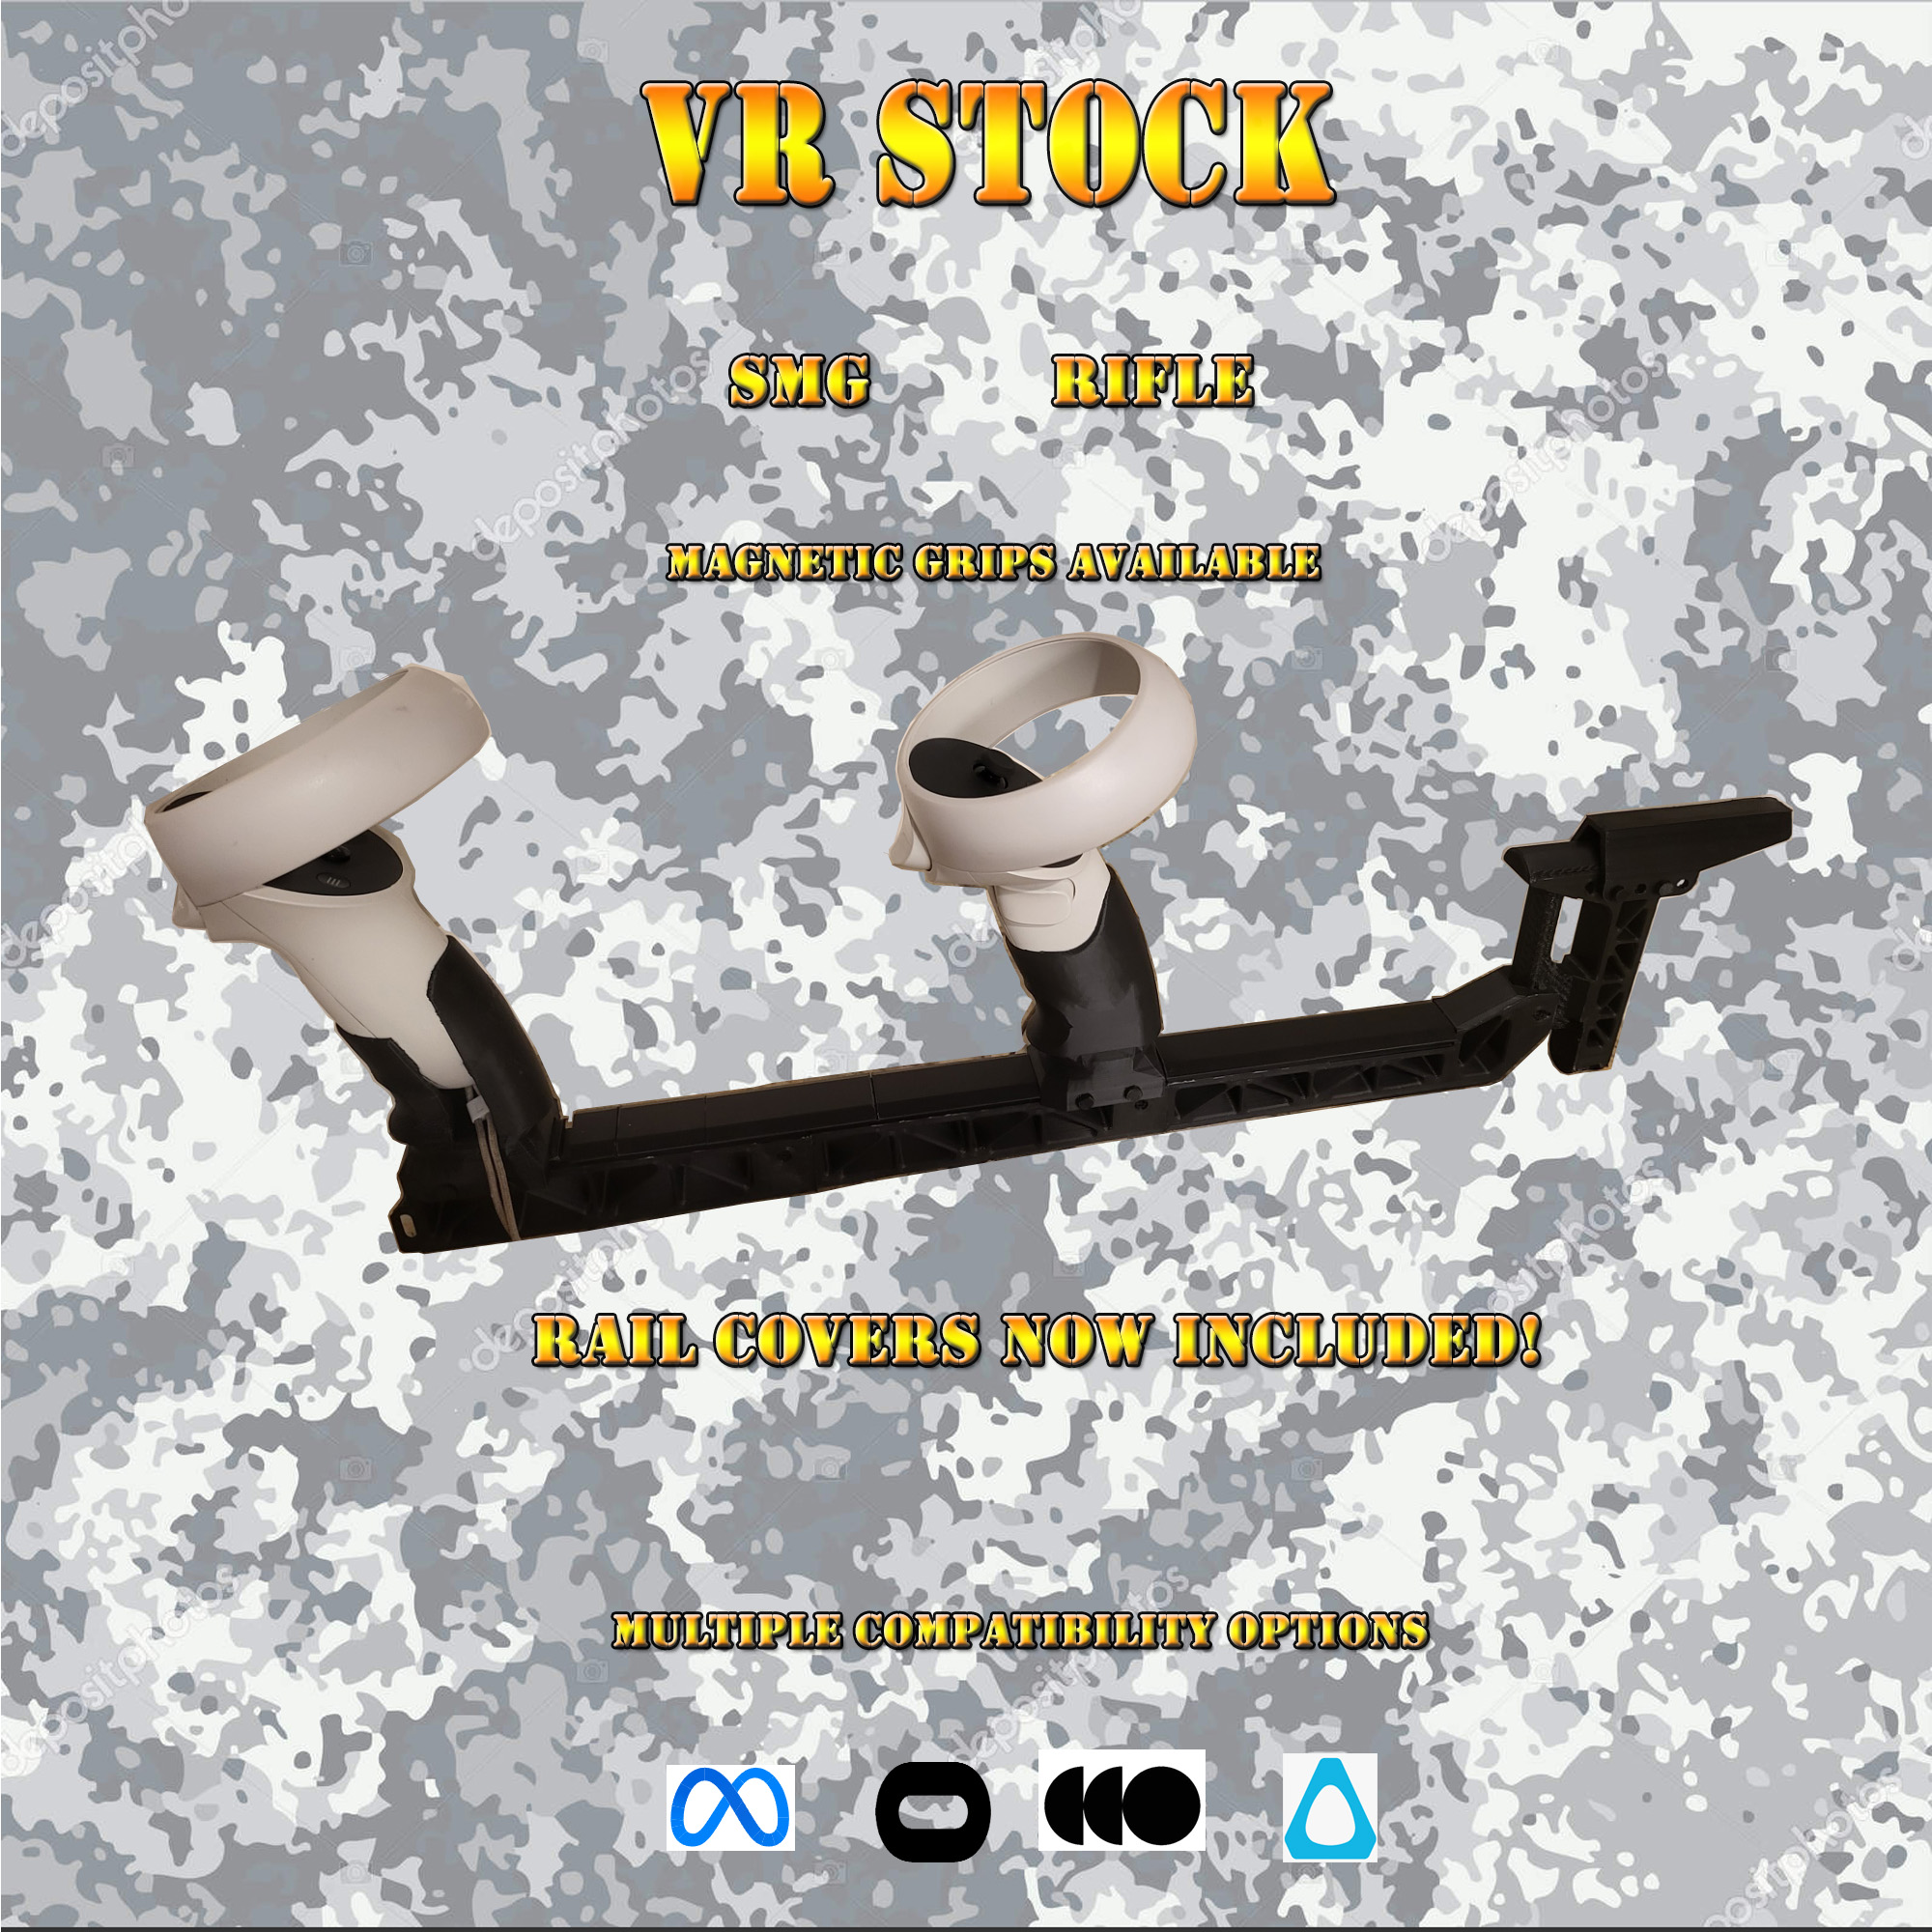
VR Stock - 3d printed by a gamer for gamers
When I first started playing VR shooters I noticed how expensive all the magnetic VR stocks were that were out there. We already spent hundreds on a headset and even more on games, why should an accessory cost so much? Thus I melded 2 of my hobbies and began printing and selling these as a low cost solution to enhance immersion and the overall gaming experience in VR shooters. I thank you for your purchase and hope you enjoy using the stock in whatever game you prefer!
Assembly Instructions
1. Connect Buttstock to Rail 1
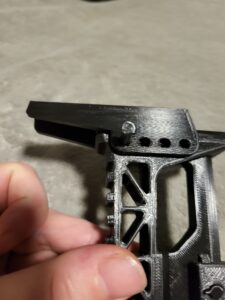
First, position the buttstock so that the tapered edge aligns with The opening on top of the slanted portion of Rail 1
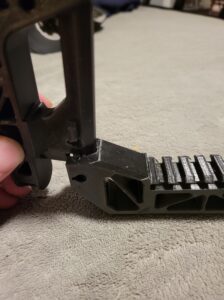
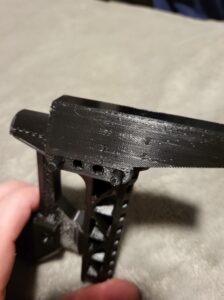
Slide the Buttstock into place so that the pin holes line up.
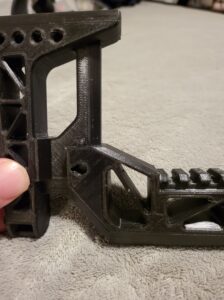
Use one of the included small pins
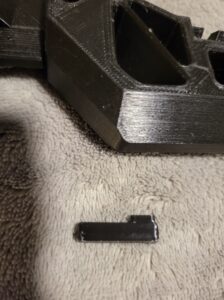
And secure the buttstock into place
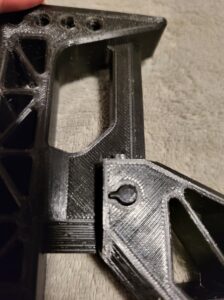
2. Connect Rail 1 to Rail 2
Next take the buttstock and Rail 1 assembly from step one, and align with the opening on Rail 2.
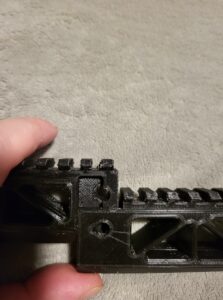
Press together so that the top rails are aligned and secure in place using another pin
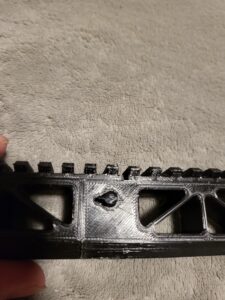
2a: Rifle Kit only - Connect Rail 2 to Rail 2
Next take the Buttstock/Rail 1/Rail 2 assembly and let’s connect our 2nd middle rail the same way.

Press together so that the top rails are aligned and secure in place using another pin

3. Connect Rail 2 to Rail 3
Next take your Buttstock/Rail 1/Rail 2 assembly and align with the opening on Rail 3
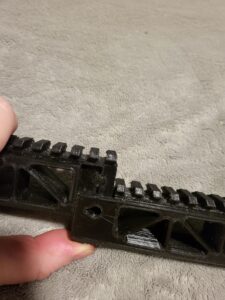
Secure in place with another small pin
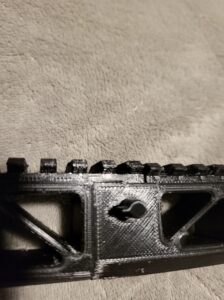
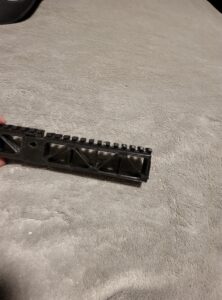
4. Position and Secure grips
Whether you are using fixed grips, magnetic grips or a combination of the 2, they are all mounted similiarly.
Slide your trigger handed grip on first from the end of the assembly
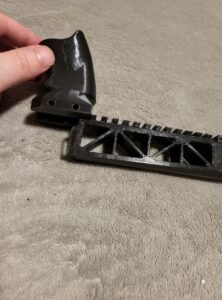
Take care when sliding the grips on and off as the rails can have sharp or scratchy edges.
Secure in place with some of the provided pins
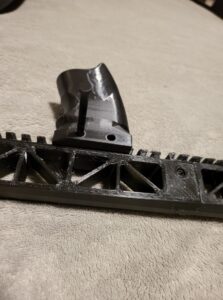
Repeat the process for your front hand grip
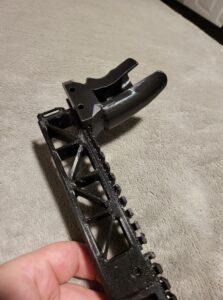
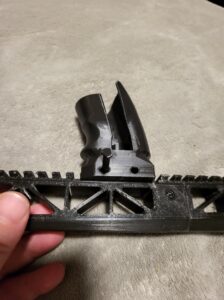
5. Secure Rail covers
Once your grips are in a comfortable position its time to apply the included rail covers on the rails for comfort
Lay the assembly down and measure which rail covers you need based on your grip position
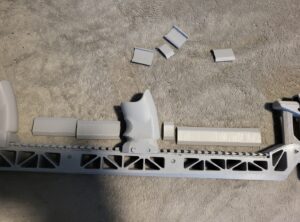
Once you have determined positions and lengths, its time to snap them into place. Slide one side of the cover over the rail and press down firmly on the other side to snap into place.
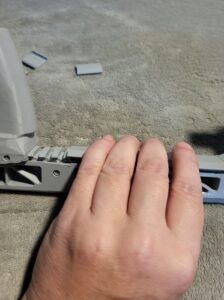
Once completed you should have a mostly covered assembly with a few left over pieces
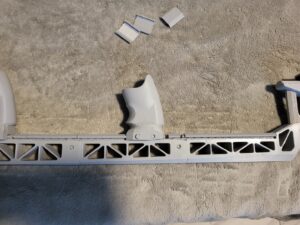
6. Install cheek rest
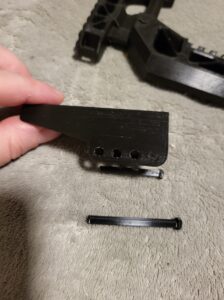
Finally you will install the cheek rest in any orientation or position that you wish using the holes along the top of the Buttstock and the included pins
